How To Draft A Trouser Pattern
How To Draft A Trouser Pattern
(That you actually want to wear)
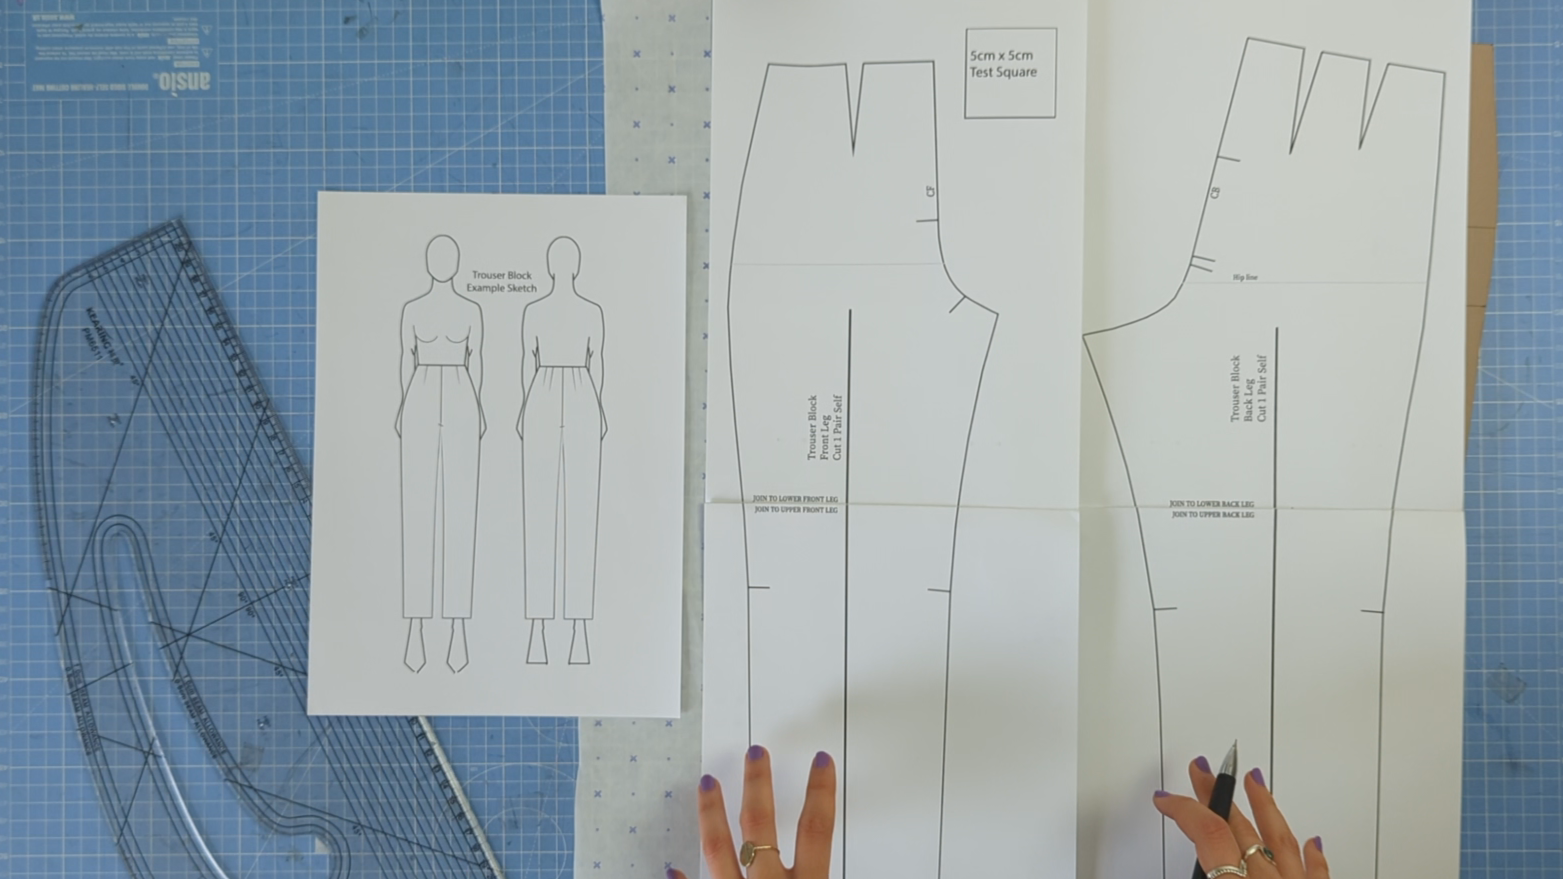
Do you want to start drafting your own trouser patterns that reflect your personal style and actually fit?
Yes?
That’s AMAZING news! You’ve come to the right place.
Drafting your own trouser pattern doesn’t need to be a scary, confusing process.
You can easily take an existing pattern and change, tweak and hack it into something that makes you glow with pride when you wear it.
Let's Start By Breaking The Process Down Into Steps
Step 1: Pick The Right Trouser Block
But “what is a block?!”
A block is simply a template that we use as a starting point for future patterns.
It’s a fabric version of your body (plus wearing ease of course) with the most simple seams and shaping that you can imagine.
If your block fits you perfectly then your new pattern will inherit that perfect fit.
Blocks come in different styles and differ depending on what fabric you’re using.
If you’re making jeans use a jeans block, the same goes for a woven or stretch trouser.
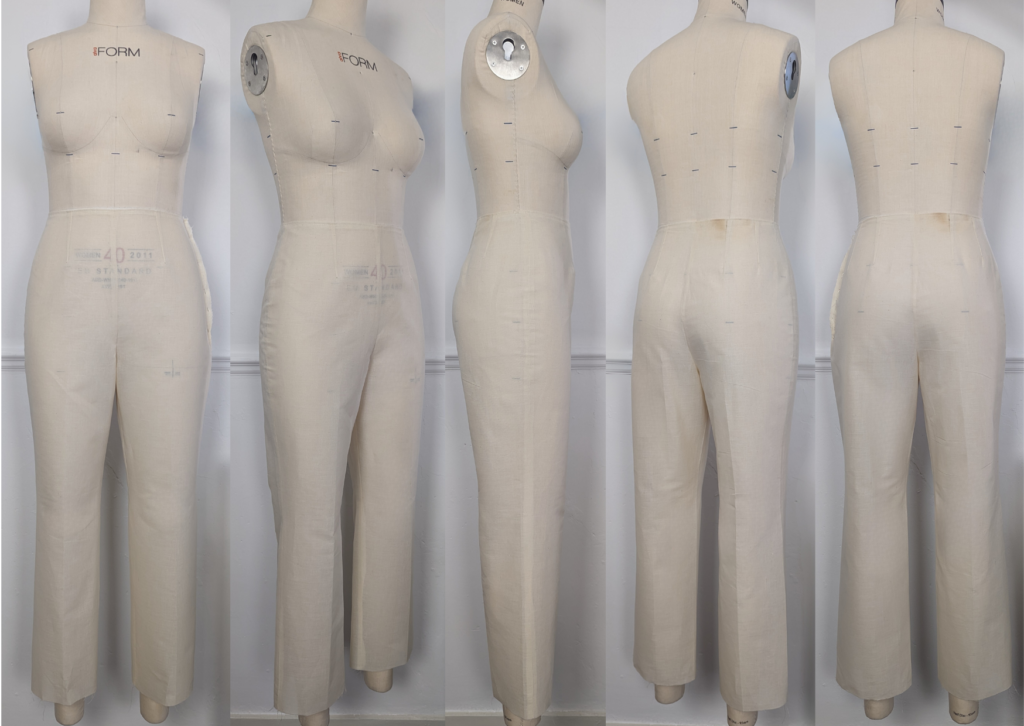
Here’s an example of my semi-fitted woven trouser block. It’s the block I use for most of my trouser patterns!
How Do You Find A Block?
There are two ways of getting your hands on a block:
Buy a commercial block
This is a good option if you're a fitting wizard and feel a little unsure about the drafting process. These blocks are always drafted to someone else's body measurements and proportions, so it will take more time and hassle to fit it to your body.
Draft your own block
Your body is unique, so logically your blocks should be too. Drafting your own block, starting with your own measurements gets you one step closer to a perfect fitting block than buying one. And you learn so much in the process!
There are pro’s and con’s to both options, and you will need to fit your block to your body for both of them.
But the starting pattern for the drafting your own option is always MUCH closer to your body proportions than buying one, and often ends up quicker because of this.
✨Learn how to draft and fit your unique trouser block here.✨
Step 2: Master Some Basic Techniques
There are plenty of ways that we can change our block to create something new, but you’ll need to master some basic techniques first:
Dart Manipulation
Converting Darts To Other Forms
Changing The Waist Position, Leg Length & Style
Creating Flare & Fullness
Adding Pleats & Gathers
Creating Waistbands, Pockets & A Fly Opening
Once you’ve mastered these basic techniques, try practicing combining them into one style. Pick a design from a store and have a go at drafting it!
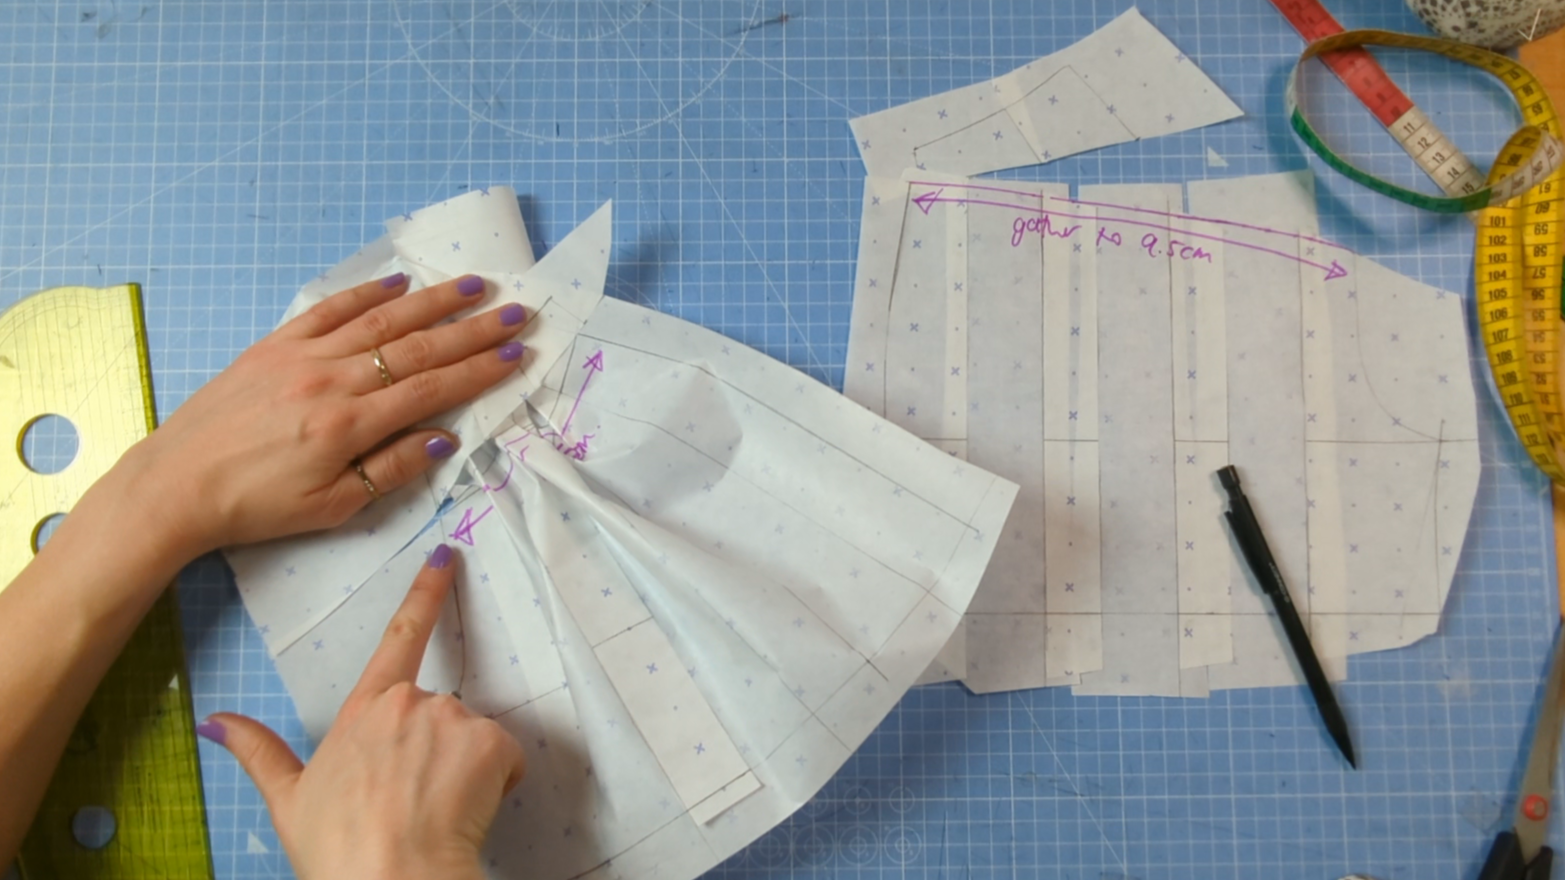
Some Fun Ways To Change Your Block
I could write an essay on this, but since this is just a humble blog post here are just a few inspiring ways to change your block.
Change The Length
Shorts, midi, maxi...create any length that you can dream up!
Change The Leg Silhouette
Flared, slim, extra full, balloon, swishy...no shape is out of reach.
Play With Waistbands
Above the waist, below the waist, elasticated, grown on or a minimalist facing.
Add Gathers Or Pleats
Classic double pleat on the front, loads of voluminous gathers, box pleats, fullness on a pocket only...this is where the real creativity happens!
Get Creative With Frills
Gathered frills, flat frills, vertical frills, diagonal frills, waterfall frills, large ones, layered ones, soft frills or structured frills, which ones will you pick?
Pockets Are Your Friend
Patch pockets, round pockets, hidden pockets, visible ones, pleated pockets, pocket flaps, jet pockets, side pockets and SO MANY more options!
Did Someone Say Yokes?
Yokes do more than just help us fit, get creative with the shapes, positions and seams you create on both the front and back.
Colour Block With Seams
Vertical seams, horizontal seams, seams with trims, contrast fabrics...need I say more?
Get Creative With Details
For the more advanced pattern cutters think about adding drawstrings, twists, cowls, wraps, and slits!
✨Learn how to design and draft your dream trouser designs here.✨
Step 3: Design Your Dream Trouser
Getting your ideas out of your head and onto paper is such an important step!
You wouldn’t go on a journey without knowing where you’re going.
It’s the same with drafting, draw your design on paper and finalise each and every detail of your dream trouser!

Step 4: Draft Your Trouser Using Your New Pattern Cutting Skills
You’ve got the technical knowledge, you know to change silhouettes and create fun details.
You have your design clearly drawn out.
Now you just need to put those new skills to work and draft your trouser, one step at a time!
Start with the big changes like length, silhouette and volume. Then add details like waistbands, pockets and openings.
I believe in you! 🌟

I hope that by laying out the process in these simple steps I’ve made pattern drafting for trousers seem less terrifying and more like a fun, creative, approachable process!
I ALWAYS want you to have fun with your pattern cutting and experiment with silhouettes and details.
If you’re feeling like you need a recap on those essential skills and you want an expert to guide you through this whole process then you’re in luck!
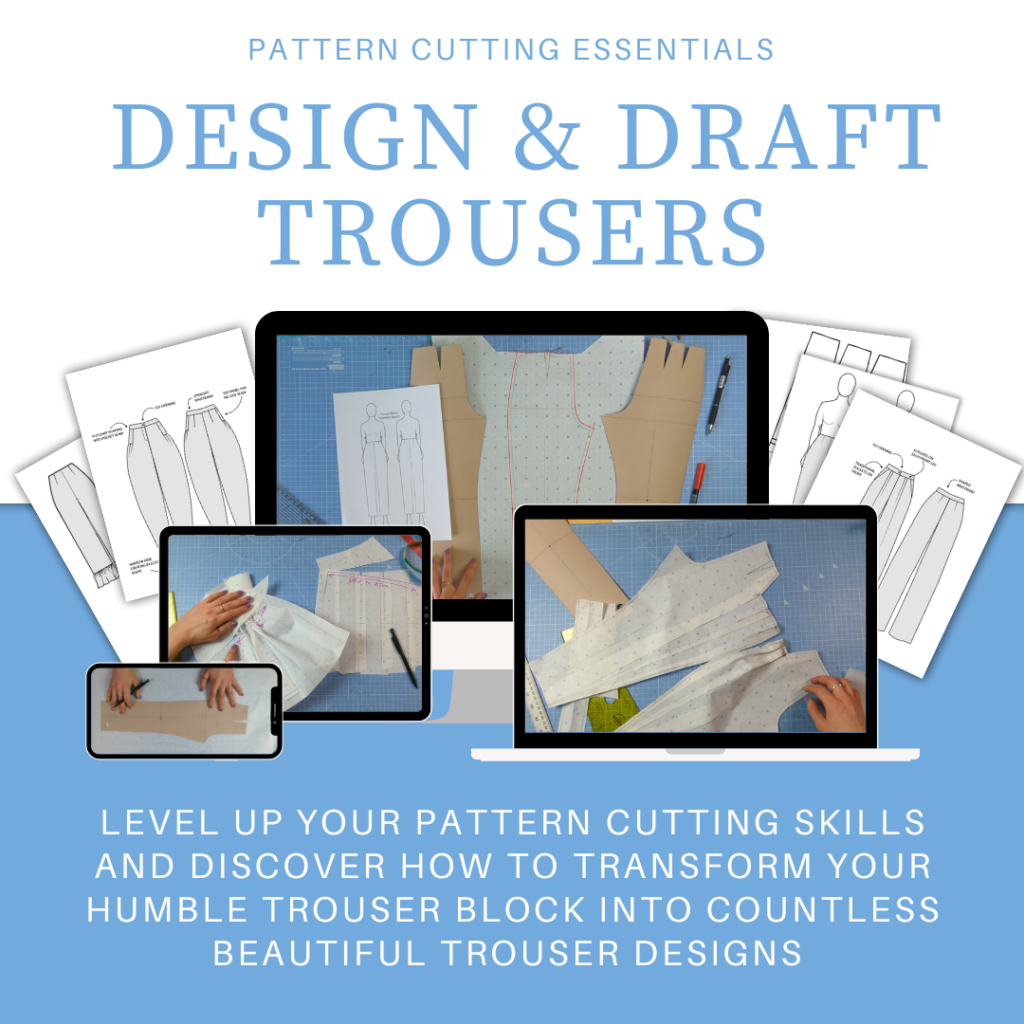
My new Design & Draft Trousers course is open for enrolment 🥳
Join me and a group of like minded students and unlock the creative pattern cutting world one dart manipulation at a time.
